The purpose of this exercise was to survey a terrain landscape surface. This exercise involves the ability to think spatially, along with critical thinking and team work skills. This is because the instructor left the survey technique up to the group members. He advised us that it would be a good idea to devise a coordinate system of some type to base our survey off of. We were provided with tools, such as meter sticks, measuring tape, and rope to perform our survey technique.
Methods
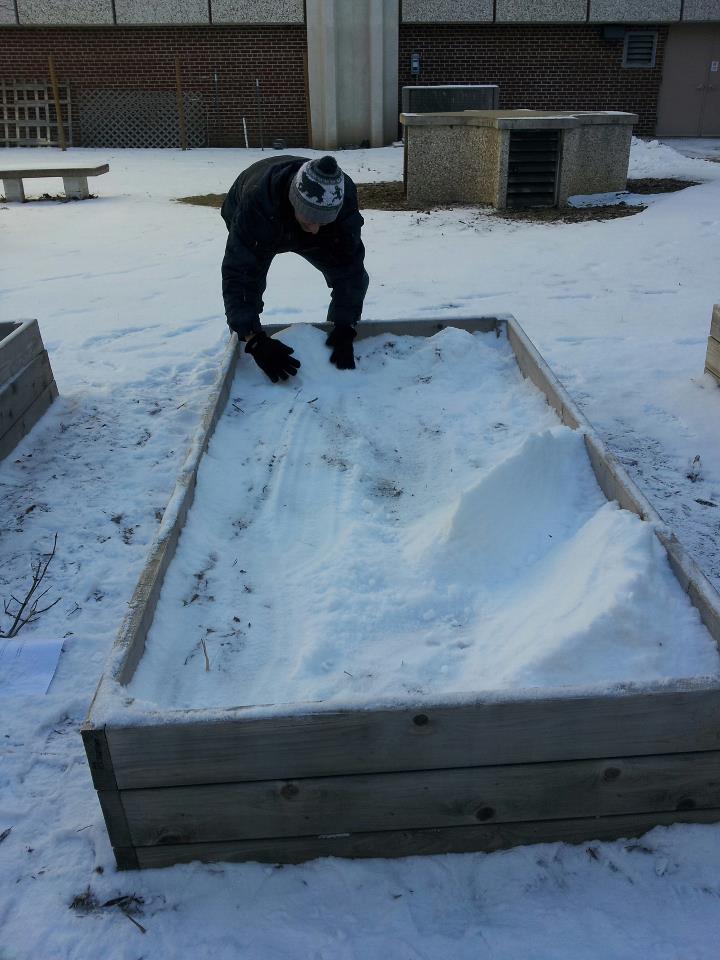
To begin our project we first had to create our landscape
terrain. We were instructed to include landforms such as a ridge, hill,
depression, valley, and plain (images 1 and 2). This was the easy part.
Image 1: Creating the ridge for the landscape

Image 2: Creating the hill for the landscape
Next, we had to figure out how to conduct the survey. We
began this part by agreeing on a coordinate system. We agreed to have the short
end of the planter box be X axis and the long edge be Y axis. We also agreed to
do our survey at 5 and 10 centimeter intervals. If there was a lot of terrain
feature to capture, such as a ridge or depression, we did 5 centimeter
intervals; this is so we would capture a more accurate, real-life surface
elevation. If there wasn't much terrain feature to capture, such as a plain,
did 10 centimeter intervals.
After the coordinated system was figured out we needed to
physically conduct the survey. This part was especially challenging at first.
Every idea we came up with involved having more than two group members, since
one of our members was sick and unable to attend. We didn't have enough hands
for the tasks need to conduct the survey with the techniques we were coming up
with, and record the measurements. We first tried to lay meter sticks down on
one X axis and on both Y axes (image 3).
Image 3: Laying meter sticks on the X and Y axes for
measurement intervals of the survey

We then discovered that one of the measuring sticks was long enough to lay across the box the short way, to act as a mobile X axis. This would free up the work that originally would have to be done by a person. However, the measuring stick was in inches, not centimeters like we needed. To take care of this problem we taped a meter stick onto the longer stick. This provided us with a mobile X axis that was in centimeters like we needed. After this problem was solved, we ran into two problems. First, we realized that by having a mobile X axis that needed to lay across the box we couldn't have any landforms that were higher than the wooden outside edges of the box. To fix this we had to smoosh our landforms down a bit to make them level or lower than outside edges of the box. The other problem was that the original meter sticks we laid down on the outside edges of the Y axis to measure our intervals were not sturdy with the other X axis stick gliding over them, so they kept falling off. This was a problem because it made it difficult, time consuming, and wasn't very accurate. To fix this problem we taped measuring tapes down on both sides of the Y axis. This was a great fix for two reasons; first it was sturdy which allowed us to be more accurate and saved a lot of time. Also, the tape went all the way down both sides, unlike the meter sticks that would've needed to have been moved two separated times on each side. Again, this allowed for better accuracy and saved on time.
Finally we were able to begin the survey. To do this we laid the mobile X axis across the box. By having measuring tapes on both Y axes we were able to make sure our X axis was straight across and not at an angle, which again lead to greater accuracy. We started at X = 0 and Y = 0 and measured the distance from the bottom of the X axis to the top of the land surface (image 4). This gave us the elevation of the landform at that specific X and Y location. We worked our way down the whole X axis at every 5 centimeter interval, where there was a lot of surface terrain feature to capture, and every 10 centimeter interval where there wasn’t a lot of feature to capture. After completing the whole X axis at one Y interval we moved the mobile X axis up to the next Y interval. Again, we moved up the Y interval at every 5 or 10 centimeters depending on the terrain of the surface and recorded elevation down the whole X axis. We recorded our Z, Y, and Z values in an Xcel spreadsheet that had been printed off before going outside (image 5).
Image 4: Depicts the final technique of the survey
(measuring tapes on both Y axes, the mobile X axis laying across the box, and
using the meter stick to calculate the land feature's elevation)

Image 5: Elevation values being recorded

After the survey was complete we manually entered our X, Y, and Z values into Microsoft Xcel. By measuring our elevations in the manner that we did we recorded all negative numbers. Since negative numbers can be a challenge to work with we wanted to get all our Z values to be positive numbers. To do this we found our lowest elevation, which was -16, and by using a function in Xcel we added 17 to all our Z values. This led all the elevation values to be positive (image 6). These values will be imported into ArcMap for the following lab so we can see the results of our terrain survey.
Image 6: Xcel Spreadsheet after values were entered and
changed to positive numbers

Discussion
This project also taught me the importance of coming prepared with tools to get the survey, or whatever task you may be performing, accomplished. We were fortunate in the sense that our survey area was only a few minutes walk to the room where the survey tools were provided. We ended up coming inside to get more tools after we began the project.
Conclusion
Overall I feel as though I learned a lot from this project. This exercise challenged my ability to think spatially, along with utilizing my critical thinking and team work skills. I also learned the importance of coming prepared for whatever challenges or obstacles that may come, whether it be not enough people to get the job done, being short on tools, or just the weather.
No comments:
Post a Comment